|
最近项目中用到了NXP公司的LPC11E68芯片。该MCU基于ARM Cortex-M0+内核,最高运行频率可达50MHz。下面介绍一下如何搭建Keil开发环境以及在调试过程中的问题总结。
1. 首先打开Keil MDK,在Pack Installer中选择并安装LPC11E68对应的设备开发包LPC1100_DFP。 2. 新建工程,在Select Device for Target1…对话框中选择LPC11E68FBD48,然后在运行环境设置中选择包含CMSIS-CORE和Device-Startup文件。 3. 选择使用的仿真器型号为ULINK。由于LPC11E68仅支持SWD模式,不支持JTAG模式,因此在Setting的Port组合框中选择SW,并勾选SWJ。
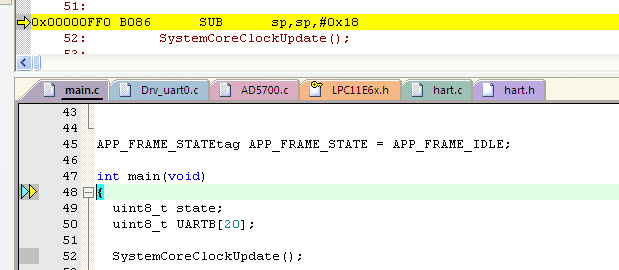
调试过程中发现,使用默认的调试配置时,LPC11E68在启动后PC指针会跳转到0x1000000地址,也就是RAM的首地址,不能进行正常的仿真操作。

按照Keil官方的帮助文件中的介绍,Debug->Reset Option共有四种选项,分别是: Reset controls the RESET operations. • Reset — HW RESET performs a hardware reset by asserting the hardware reset (HW RESET) signal. • Reset — SYSRESETREQ performs a software reset by setting the SYSRESETREQ bit. The Cortex-M core and on-chip peripherals are reset. • Reset — VECTRESET performs a software reset by setting the VECTRESET bit. Only the Cortex-M core is reset. The on-chip peripherals are not affected. For some Cortex-M devices, VECTRESET is the only way to reset the core. VECTRESET is not supported on Cortex-M0 and Cortex-M1 cores. • Reset — Autodetect selects one of the above reset methods based on the target device. The SYSRESETREQ method is used if an unknown device is detected.
选择SYSRESETREQ,正常跳转到main函数。

注意:工程包含的头文件是LPC11E6x.h,不是LPC11Exx.h |